This is THE recipe for the most perfect vegan cinnamon rolls I’ve tried (and trust me, I’ve tried a lot!). They’re simple, easy, fluffy, and incredibly flavourful thanks to a special ingredient in the dough. This is my go-to cinnamon roll recipe.
Now, before we begin, I suggest you read this post on my 12 tips for creating the best cinnamon rolls, where I have written everything you need to know in order to get the perfect rolls, as well as the recipe notes. Making these buns is simple, but there are a lot of steps where you can go wrong – so be sure to read through to the end before you begin!
Choosing your yeast
Another thing I’d like to mention before we begin is that I use fresh yeast in my recipes. Mostly because I live in Sweden, and it’s available in almost every grocery store, but also because I feel more comfortable using fresh yeast instead of active dry or instant, as you don’t need to “test” it to see if it’s still alive.
That being said, you can use dry yeast instead of fresh, but I recommend you read the recipe notes and your yeast packet to ensure you’re doing it right!
Shaping the cinnamon rolls
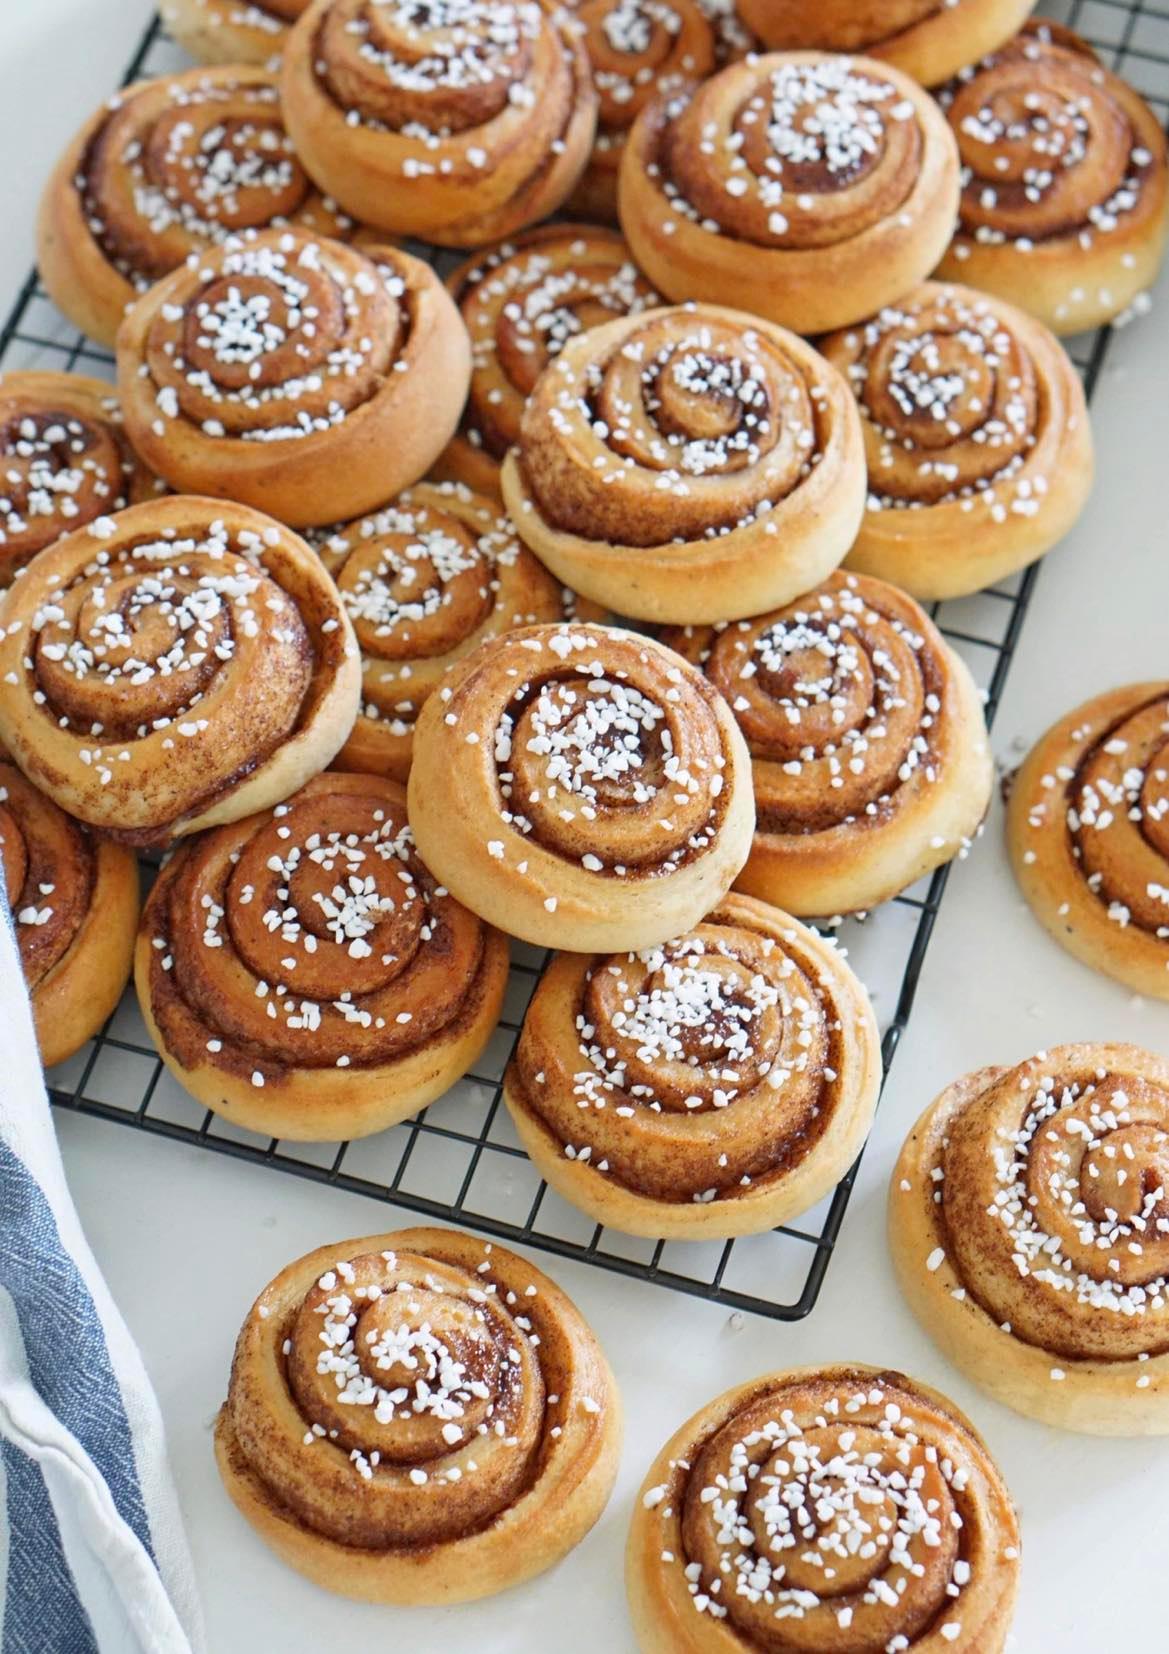
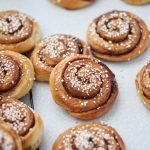
I prefer to shape my dough into the shape of the traditional cinnamon rolls we have here in Sweden, where you roll it out into a flat rectangle, spread the filling evenly across the surface, then roll it up and cut it into 1-1.5-inch slices.
Then, after the rolls have baked and been brushed with the simple syrup, I sprinkle on “pärlsocker” which directly translates to “pearl sugar” which is basically white sugar compressed to form larger sugar crystals.
These can be omitted or replaced with a glaze or granulated sugar mixed with optional flavourings such as cinnamon or cardamom.
You can also shape the rolls however you like – there are endless shapes and methods to chose from! Braid them, tie them into a knot, bake together in a baking dish, it’s completely up to you. If you choose a different shape than the recipe mentions, simply skip the steps 2-4 under “Shaping the rolls”.
Recipe Notes
- You’ll want to use butter in block form, that is to say not from a tub, as the butter from a tub will be too soft.
- In Sweden (where I live), it’s most common to use fresh yeast when baking, and it’s also the one I like to use most out of the different types of yeast. However, it can easily be substituted for active dry yeast or instant yeast if that’s what you have.
Be sure to follow the suggested substitution roles when using dry yeast, as the quantities will vary. Overall, the instructions will remain similar when you use active dry yeast, but you might want to heat the milk 2-3 degrees Celcius warmer and let the yeast proof for 10-15 minutes in the milk to ensure it’s alive.
If the time has passed and the yeast isn’t bubbling or showing signs of life, you might want to start from scratch with a different batch of yeast. When using instant yeast, mix it into the flour instead of the wet ingredients.
- The amount of flour you will need will vary depending on a number of factors. Start by adding 790 grams and add more if necessary, but no more than 840 grams in total. You want the dough to be softer than you think, as it will develop gluten while it rests, making it stronger.
- To perform the window-pane test, let the dough rest for five minutes, then pull a small part of the dough as thinly as possible. It should stretch to become slightly see-through. If it breaks before you reach this stage, continue kneading for five minutes, then repeat.
The Best Cinnamon Rolls
Ingredients
Dough
- 500 ml plant-based milk (I use oat milk)
- 30 g fresh yeast (view notes)
- 2 tsp freshly ground cardamom (optional but highly recommended)
- 150 g plant-based butter (view notes)
- 150 g white sugar
- 790 g flour (view notes)
- 1/2 tsp salt
Filling
- 160 g plant-based butter
- 90 g brown sugar (light or dark)
- 50 g white sugar
- 2 tbsp ground cinnamon
- 1 tbsp cornstarch
- 2 tsp vanilla extract
Simple Syrup
- 150 ml water
- 75 g white sugar
Instructions
Preparing the dough
- Crumble the fresh yeast into a big bowl or the bowl of a stand mixer. Read notes if substituting for active dry or instant yeast.
- Heat the milk to 35 degrees Celcius or slightly cooler than body temperature. It's better to have it too cool than too warm.
- Pour it into the bowl with the yeast and stir until all the yeast has dissolved. Add the sugar, ground cardamom, butter in chunks, salt, and almost all the flour.
- Mix the ingredients on low speed if using a stand mixer for at least 10-15 minutes or 20-35 minutes if kneading by hand. Add more flour if necessary until the dough comes away from the edges of the bowl and doesn't stick to your fingers. Perform the window-pane test. (view recipe notes)
- Cover the dough and let rise for 30-45 minutes. The majority of the rising will occur after the shaping, so this stage is mainly to let the dough rest.
Shaping the rolls
- Mix the ingredients for the filling together until it becomes a smooth paste.
- Divide the dough in half, then roll it out into a rectangle on a lightly floured surface, making it almost as long as it is wide.
- Spread half of the filling evenly onto the rolled-out dough and shape it however you want. Start by rolling the dough away from you to make the traditional roll shape. Cut the log into 1-1.5-inch discs and tuck the end of the roll under it, so it doesn't unravel in the oven.
- Space the rolls evenly onto a lined baking tray, leaving a 2-3 inch gap between the rolls, or place more closely together in a baking dish to make break-apart rolls.
- Repeat the process for the other half of the dough, then cover and let rise for 1.5-2 hours depending on the temperature in your kitchen until the rolls have increased in size and bounce back when lightly pressed.
Baking and completing the rolls
- Preheat the oven to 200 degrees C or 390 degrees F. Bake one tray at a time for 8-12 minutes or until golden brown. While they are baking, make the simple syrup.
- Pour the water and sugar into a pot and heat over low-medium heat until all the sugar has dissolved.
- Immediately after the rolls emerge from the oven, use a pastry brush to glaze the rolls with the simple syrup. This will trap the moisture inside the rolls and keep them fresh for longer. Repeat for the other batch of rolls.
- Allow to cool completely before decorating (if you want) and storing in an air-tight container. They will keep fresh for 1-2 days at room temperature, but I recommend freezing leftover rolls as soon as they cool for maximum freshness. Place frozen rolls in the microwave for 30-60 seconds and enjoy!
Notes
- You'll want to use butter in block form, that is to say not from a tub, as the butter from a tub will be too soft.
- In Sweden (where I live), it's most common to use fresh yeast when baking, and it's also the one I like to use most out of the different types of yeast. However, it can easily be substituted for active dry yeast or instant yeast if that's what you have. Be sure to follow the suggested substitution roles when using dry yeast, as the quantities will vary. Overall, the instructions will remain similar when you use active dry yeast, but you might want to heat the milk 2-3 degrees Celcius warmer and let the yeast proof for 10-15 minutes in the milk to ensure it's alive. If the time has passed and the yeast isn't bubbling or showing signs of life, you might want to start from scratch with a different batch of yeast. When using instant yeast, mix it into the flour instead of the wet ingredients.
- The amount of flour you will need will vary depending on a number of factors. Start by adding 790 grams and add more if necessary, but no more than 840 grams in total. You want the dough to be softer than you think, as it will develop gluten while it rests, making it stronger.
- To perform the window-pane test, let the dough rest for five minutes, then pull a small part of the dough as thinly as possible. It should stretch to become slightly see-through. If it breaks before you reach this stage, continue kneading for five minutes, then repeat.