
With these 12 simple tips and tricks, you can be sure to make fluffy, flavourful, and soft cinnamon rolls every time.
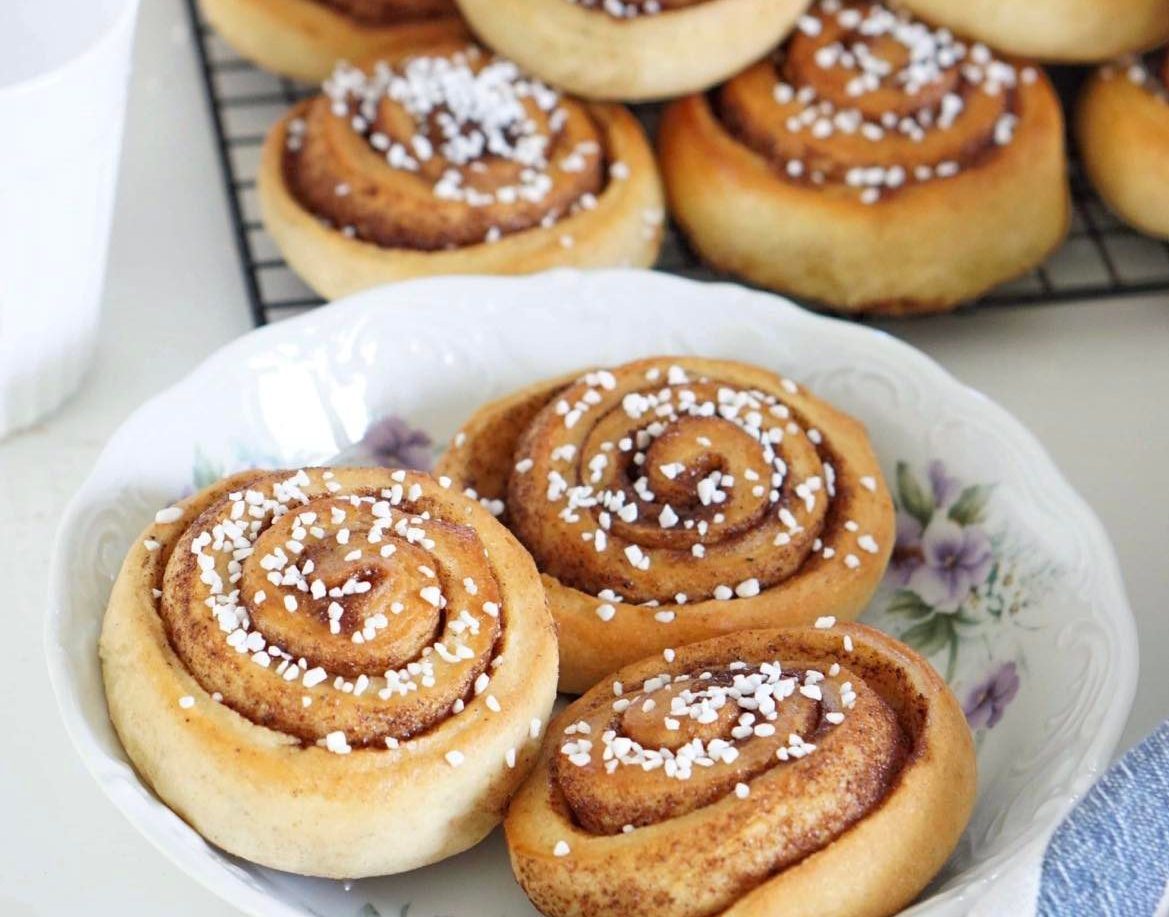
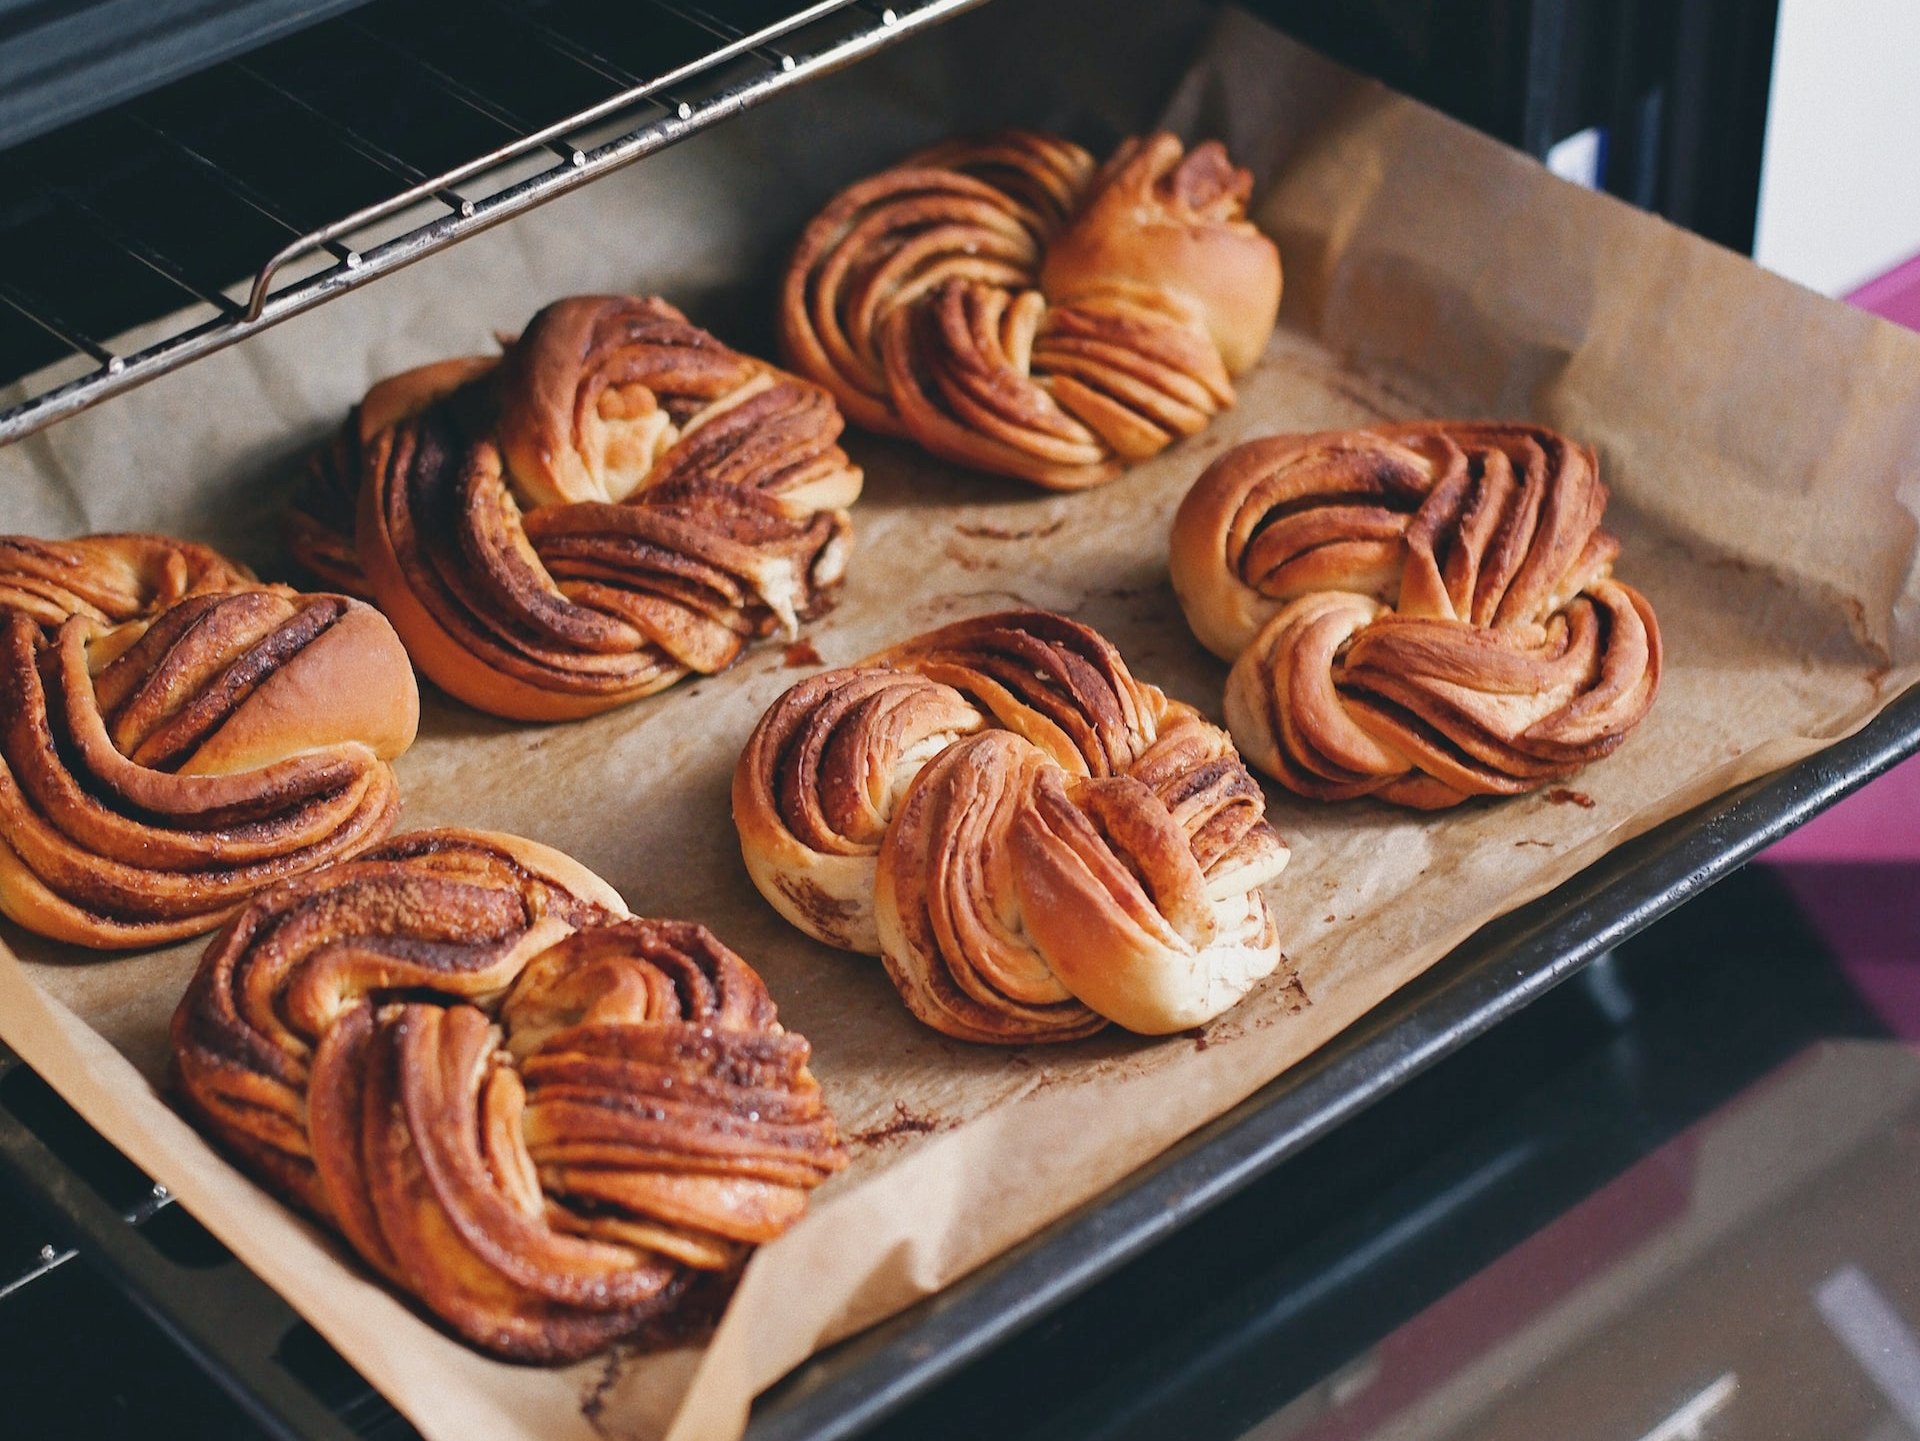
When it comes to cinnamon rolls, everyone has a personal preference. Some prefer them baked together in a pan and drizzled with a glaze, while others prefer them baked separately with sugar sprinkles on top. But at the end of the day, they’re all based on the same two components: dough and filling.
As someone who lives in Sweden, I’ve tried my fair share of cinnamon rolls. Some good, some great, and some terrible. If you didn’t know, cinnamon rolls are a big thing here – we even have a cinnamon roll appreciation day on October 4th.
Over the years, I’ve made hundreds and hundreds of these sweet, delicious, soft rolls. And after a lot of trial and error, I’ve made this list to hopefully help you get the best possible results.
1. Use room-temperature butter.
I often see cinnamon roll recipes call for melted butter, heated to 37 degrees Celcius together with the milk. But the result is a drier bun that doesn’t stay fresh for more than a day. But if you add the butter in chunks while kneading the dough, you’ll end up with a much softer bun that stays fresh for at least two days at room temperature.
Just take the butter out of the fridge an hour before you plan on baking. This will also make it soft in time for making the filling.
2. Use ground cardamom.
One of my favourite tips to taking cinnamon rolls to the next level, is to add some freshly ground cardamom to the dough. It adds a delicious flavour to an otherwise tasteless dough, and it pairs beautifully with the cinnamon.
I’d recommend buying some whole cardamom seeds and grinding them yourself using a mortar and pestle, as the pre-ground stuff mostly consists of the cardamom shells, meaning it isn’t as flavourful.
Add 1-2 tsp ground cardamom to any sweet dough for maximum enjoyment.
3. Weigh the ingredients.
I always measure my recipes in grams to get the most exact results. Baking is a science – and “one cup of flour” just isn’t specific enough. Depending on your flour, your cup, and your technique – the amount of flour you add can differ massively from the intended amount, resulting in dry, dense buns. When using grams, you can’t go wrong.
The more precise the measurement, the more predictable results you get.
4. Don’t add too much flour.
When I used to make buns or rolls or anything that required any sort of dough, I would just keep adding flour until the dough formed a ball and wasn’t sticky to the touch. I’ve since learned that this isn’t the way to do it.
The dough is supposed to be soft, springy, and not dry to the touch. If you’ve added all the flour the recipe calls for and your dough is still too sticky, knead it for another two minutes and check again. As the gluten develops, the dough will become stronger and more intact.
If, after an additional two minutes of kneading, the dough sticks to your finger when lightly poked, add another tablespoon or two of flour and try again.
5. Knead for a long time.
You need to knead the dough for at least 10 minutes by machine, and even longer if you’re doing it by hand. Don’t worry about over-working the dough here, as the more gluten that develops, the better.
It’s a common misconception that you can knead dough for too long. I mean, sure, if you knead it for two hours it might have a slight affect on the outcome of the finished product, making it dense and tough.
However, you could easily knead it for 30 minutes without any issues.
And since dough is often under-worked rather than over-worked, I would recommend spending some extra time on this step until you can pull apart a piece of the dough and stretch it without breaking. It should be thin enough to where you can see through it when holding it up against a light. This is called the “window-pane test”.
If you have kneaded the dough for a while and still fail to do the test, try leaving it to rest for 5-10 minutes and try again.
6. Use brown sugar.
The filling inside the cinnamon rolls is what gives the buns their delicious, sticky, cinnamon taste, and there is a lot of customisations you can do to it. I always recommend adding some vanilla extract, or grating some marsipan or almond paste into it for the most delicious buns.
But the real difference happens when you switch part of or all the white sugar for brown sugar. It gives the buns a caramel-y taste that somehow make them even more delicious. If you don’t have brown sugar, you can also remove part of the sugar and add golden treacle instead. Absolute game-changer!
7. Add cornstarch.
In the past, when I would make cinnamon rolls, I’d feel like I added loads of filling, only to have it melt out from the buns when they were baked. Obviously, this wasn’t ideal, as some would argue (me, I would definitely argue) that the filling is the best part.
So to prevent this from happening, I always put a tablespoon of cornstarch (or potato starch) into the filling so that when it bakes, it stays put, as cornstarch is often used as a thickening agent.
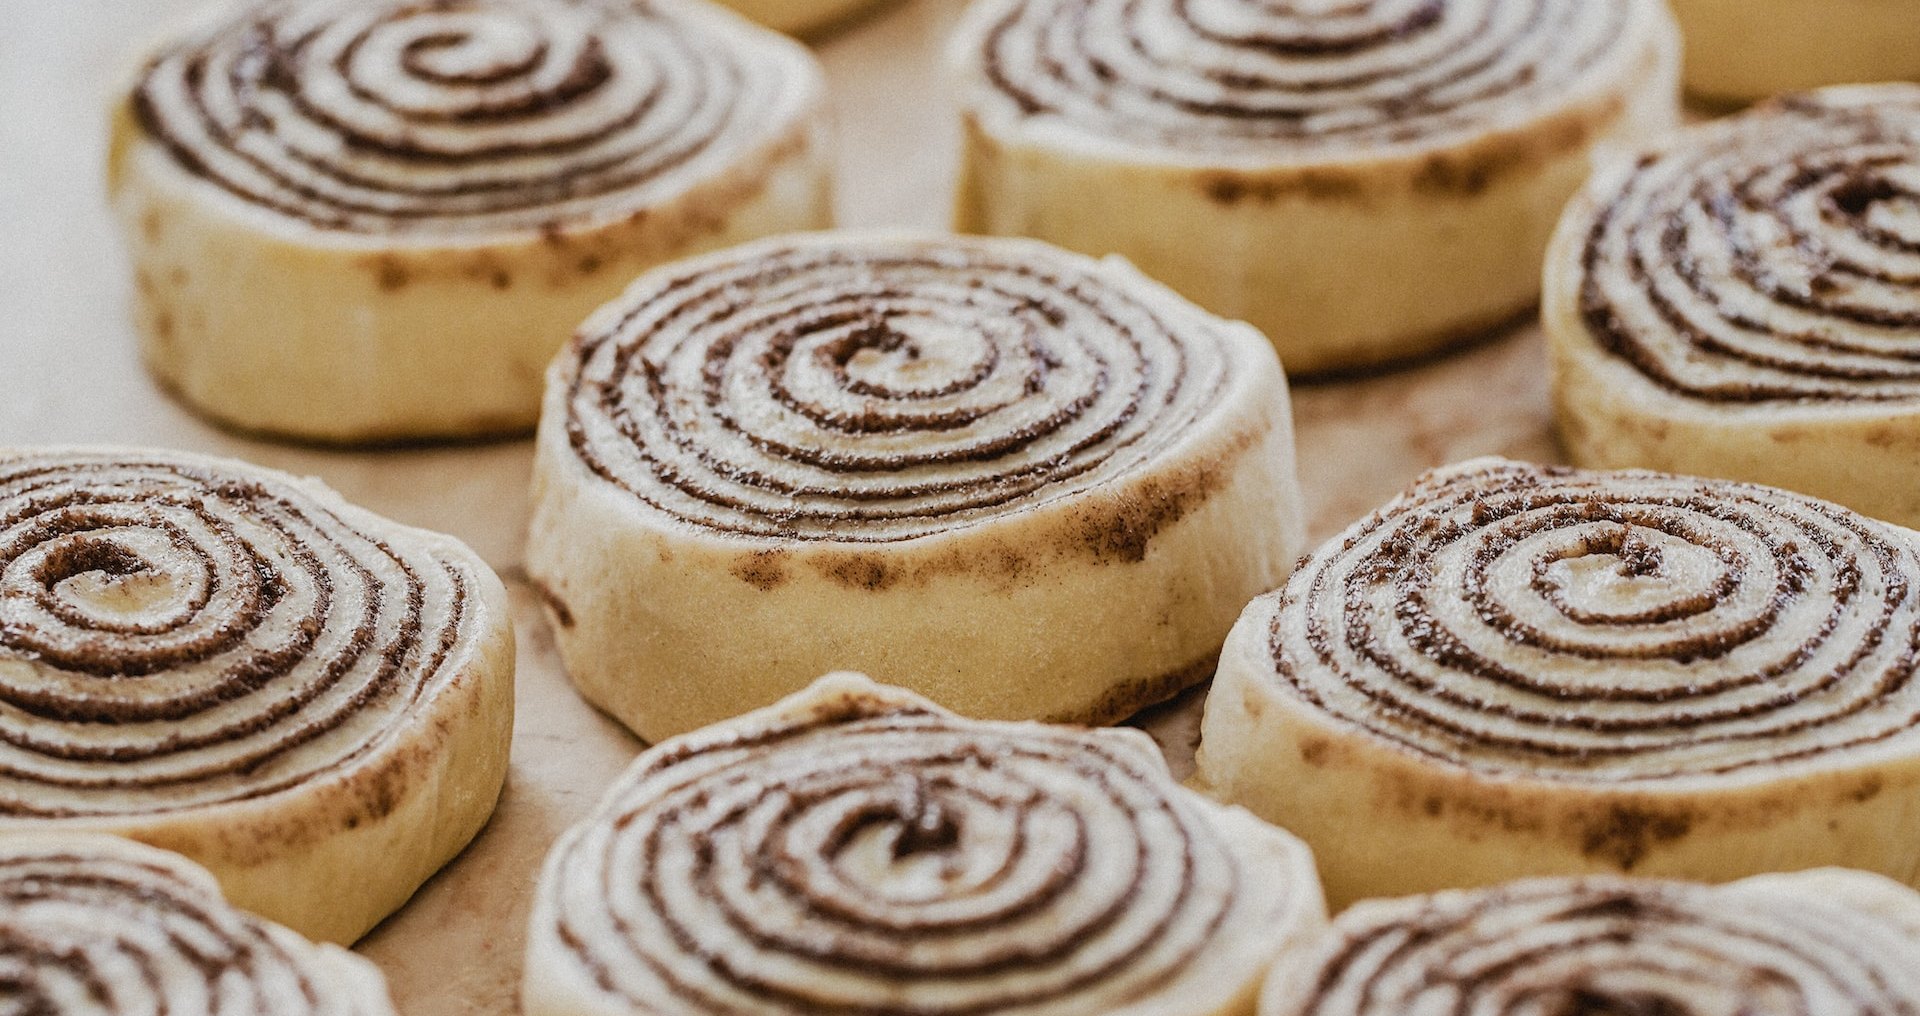
8. Roll the dough thinly.
This is one of the most common “mistakes” I see when people make cinnamon rolls. Maybe it’s just down to personal preference, but personally, I like my cinnamon rolls to have a lot of filling.
So in order to get the most filling, you need as much surface area as possible to spread it onto. Roll the dough as thinly as you can (around 2-3 millimeters) and don’t be stingy with the filling!
8. Use plenty of filling.
As I said, this is where the flavour is at. You don’t want to skimp out on the buttery, sticky sweet goodness that is the cinnamon filling. Make sure to be generous in your application here for the most delicious results.
9. Freeze the buns before baking.
Cinnamon rolls, and most baking recipes that require proofing, are often made in big batches of 25-35 buns. And a lot of people won’t be able to finish the rolls before they go stale. This is why I recommend freezing part of the buns after they have been shaped, but before the final proof.
Just space them out on a tray, place them in the freezer for a couple of hours, then transfer to a container or plastic bag.
Then, whenever you fancy a cinnamon roll, take them out of the freezer and let them thaw on a baking tray before allowing them time to rise and then bake. So simple, so easy, and minimal waste!
I do this sometimes when I make a big batch of buns, and I sometimes even freeze them straight after they’ve cooled from the oven. That way you always ensure fresh buns, and all you have to do it place it in the microwave for a minute and it will taste freshly-baked!
10. Use cupcake cases.
No matter what you do to prevent it (cornstarch tip in mind), a small amount of filling will escape from the buns. That’s why I love to put my cinnamon rolls in large cupcake or muffin cases. It also makes serving easier!
If you don’t have any large cases on hand, you can get the same effect by simply opening up a regular cupcake case by gently pulling along the edges to flatten it out.
11. Brush the buns with simple syrup.
If you don’t do any of the tips mentioned above, this one is a must! Especially for individually-bakes buns as opposed to the pan-baked buns glazed with cream cheese frosting or other glaze.
Bring one part sugar to two parts water to a simmer until all the sugar has dissolved, and remove from the heat. As soon as the buns come out of the oven, use a pastry brush to quickly swipe over each bun while they’re still hot. This will trap the moisture inside the buns, making them stay fresh for longer!
I hope you found these tips useful! I sure went through my fair share of dry, tasteless rolls before I implemented these tips myself, and now I’d even rather make my own cinnamon rolls than buy them at the bakery. I highly recommend you trying these out for yourself, and if you do, let me know what you think!

[…] before we begin, I suggest you read this post on my 12 tips for creating the best cinnamon rolls, where I have written everything you need to know in order to get the perfect rolls, as well as the […]